
This guide provides a step-by-step approach to using a sound mixer for gaming, focusing on how to optimize audio quality for a more immersive experience. It explains the process of connecting the mixer to your gaming setup, adjusting sound levels, and balancing audio from different sources, such as game sounds, voice chat, and background music. By following these steps, gamers can create a personalized sound environment that enhances gameplay and communication with teammates.

1. Gather Your Equipment
Gather all necessary equipment before starting your project.
- Check your sound mixer and make sure it’s functioning properly.
- Connect your gaming console or PC, ensuring all drivers are updated.
- Plug in your headphones to monitor audio effectively.
- Set up your microphone; test its placement and functionality.
- Include any additional audio sources you plan to use, such as instruments or external input devices.
Double-check that everything is powered and connected properly to avoid interruptions during your work.


2. Connect Your Mixer
Connect your sound mixer directly to your gaming system using the appropriate cables. Use a USB cable to connect to your PC or audio jacks if you’re linking it to a console like PlayStation or Xbox. Make sure to plug the 3.5mm audio jack into the output of your console, while the USB connects seamlessly to your computer for easier integration. Ensure everything is securely plugged in, checking for any loose connections that might disrupt audio performance during your gaming sessions.
3. Set Up Your Microphone
Connect your microphone to the mixer using an appropriate cable; for most dynamic or condenser microphones, this will be an XLR cable. Adjust the input gain knob on the mixer, starting low and gradually increasing until you notice a clear yet distortion-free sound. Speak into the microphone at your normal volume, then gradually raise the input gain until you reach optimal clarity, ensuring that the levels don’t peak into the red zone on the mixer display. Test your microphone levels by recording a short message and playback to assess if your voice is balanced with any accompanying audio, making further adjustments as necessary for the best sound quality.
4. Adjust Audio Sources
Connect any additional audio sources like game audio, music, or chat applications to the appropriate inputs on your mixer. Utilize the dedicated channels for each source to manage their volume levels independently, ensuring a balanced sound experience. Adjust the gain settings as necessary, allowing you to fine-tune each audio source for optimal performance. Regularly check your levels while monitoring the overall mix to maintain clarity and prevent distortion.
5. Configure Mixer Settings
Open the mixer’s interface and locate the EQ settings. Adjust the sliders to enhance specific frequencies according to your preference, boosting bass for deeper sounds or treble for crisp clarity. Enable reverb and modify the settings to create a sense of space in your audio, making in-game environments feel more immersive. Add effects such as echo or distortion to personalize your experience further, experimenting with different combinations to find what resonates best with you.
6. Test Your Setup
Launch a game or a video clip that you enjoy. While it’s playing, pay close attention to the audio levels you hear through your headphones. If the sound is too low or too high, go into your audio settings and make adjustments to the volume or equalizer settings for a better listening experience. For example, if you notice background music drowning out dialogue, consider lowering the music levels or boosting the speech frequencies to ensure that you capture every important detail.
7. Monitor During Gameplay
- Monitor the mixer’s levels closely during gameplay.
- Adjust the volume sliders as necessary to achieve a harmonious balance between game audio and voice chat.
- Pay attention to sudden changes in audio, like in-game events or player conversations, and react quickly.
- Make subtle tweaks rather than drastic changes to maintain immersion and clarity in communication.
8. Fine-tune as Needed
- Observe what enhances your gameplay and what hinders it.
- Record specific settings that feel comfortable or uncomfortable during different games.
- Adjust your sensitivity settings, button mappings, or audio levels as needed.
- Experiment with different configurations to find what works best for each environment.
- Save your custom settings for quick access in future sessions.
Maximize Your Gaming Experience
In conclusion, using a sound mixer for gaming is a game-changer that brings your audio experience to a whole new level. By following the outlined steps, I’ve learned how to fine-tune my sound settings, allowing for a more immersive and enjoyable gameplay experience. With the ability to control every audio element, I can truly make the most out of my gaming sessions. So, I encourage you to dive into the world of sound mixing—your ears will thank you!
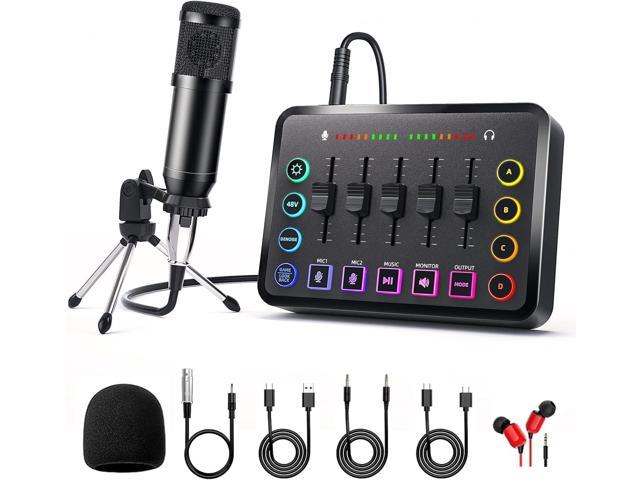
Essential Gear Checklist
- Sound mixer
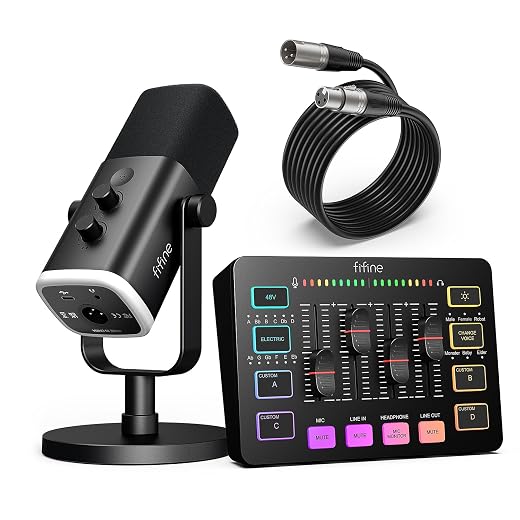
- Microphone
- XLR cables
- Audio interface (if necessary)
- Headphones
- Speakers or studio monitors
- USB or power cables
- Mixer stand or tabletop
- Acoustic treatment (optional)
- Audio recording software (optional)

Essential Setup Advice
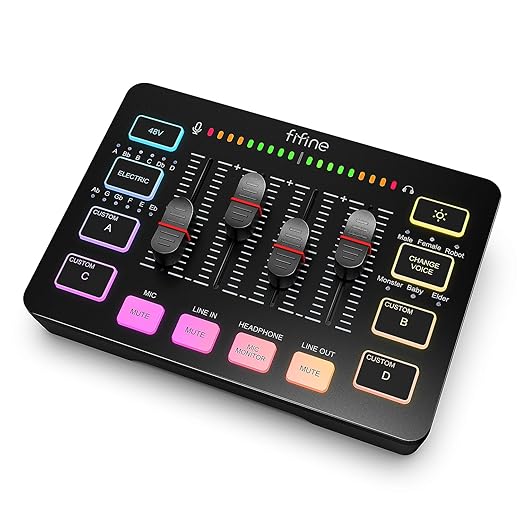
- Understand Your Mixer Layout: Familiarize yourself with the layout and functions of your sound mixer. Know where the volume controls, EQ settings, and input/output options are located
- Use Separate Channels for Different Audio Sources: Assign different audio sources (like game sound, voice chat, and music) to separate channels. This allows for precise control over each sound during gameplay
- Learn to Adjust Gain Levels: Properly adjust the gain levels for each channel to prevent distortion and ensure balanced sound. Aim for a strong signal without clipping
- Utilize EQ Settings: Experiment with the EQ settings to enhance or reduce specific frequencies. This can help highlight dialogue in games or add depth to ambient sounds
- Incorporate Compression: Use compression on your voice channel to manage volume fluctuations, making your voice clearer and more consistent for your teammates
- Set Up Monitor Mixes: Create a headphone monitor mix so you can hear yourself clearly while gaming, allowing you to adjust your speaking volume in real-time
- Test Your Settings Before Starting: Always run a test prior to your gaming session. Make adjustments as needed to ensure everything sounds just right
- Use Effects Sparingly: If your mixer has effects like reverb or delay, use them sparingly to avoid cluttering the audio. A little can enhance the experience, but too much can be distracting
- Label Your Channels: If you have multiple audio sources, label each channel on your mixer for quick reference. This saves time and confusion during intense gaming moments
- Keep Your Mixer Software Updated: If your mixer incorporates software, ensure you keep it updated. New features and improvements can enhance your gaming audio experience
Essential Tips for Optimizing Your Gaming Audio Setup
- Choose the Right Headset: I always start by selecting a comfortable headset that fits well and offers good sound quality. Look for features like noise-cancellation and a good microphone to enhance your gaming experience
- Adjust Audio Settings: I make sure to explore the audio settings on both my gaming device and within the game itself. Tailoring volume levels for music, dialogue, and sound effects can drastically improve my gameplay
- Use Surround Sound Features: If my headset supports surround sound, I enable that feature. It helps me pinpoint enemy locations and immerse myself deeper in the gaming world
- Connect Properly: I always check my connections, whether it’s wired or wireless. Ensuring that everything is plugged in correctly and that software is up to date can save me from frustrating audio issues
- Experiment with Equalizer Settings: I love adjusting the equalizer options to find a setting that suits my gaming style. Playing around with bass, treble, and mid-range settings can significantly enhance my audio experience during intense gaming sessions
- By following these tips, I can maximize the potential of my gaming audio equipment for an enhanced gaming adventure!


