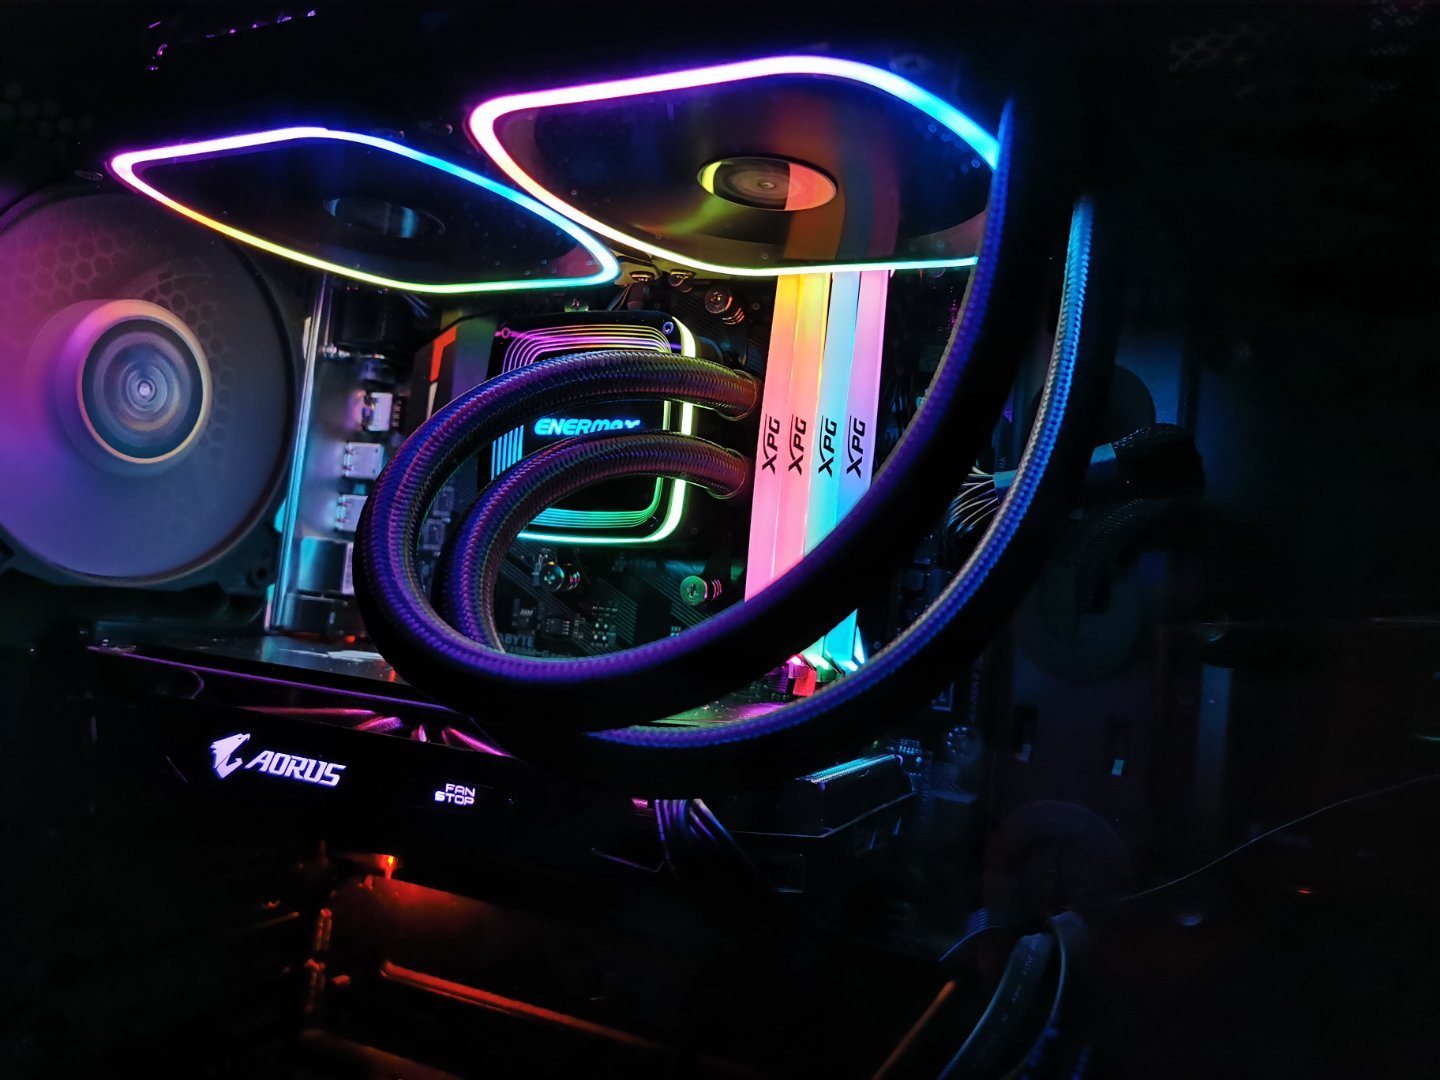
Water Cooling Enermax AIO Cooler Aquafusion 240
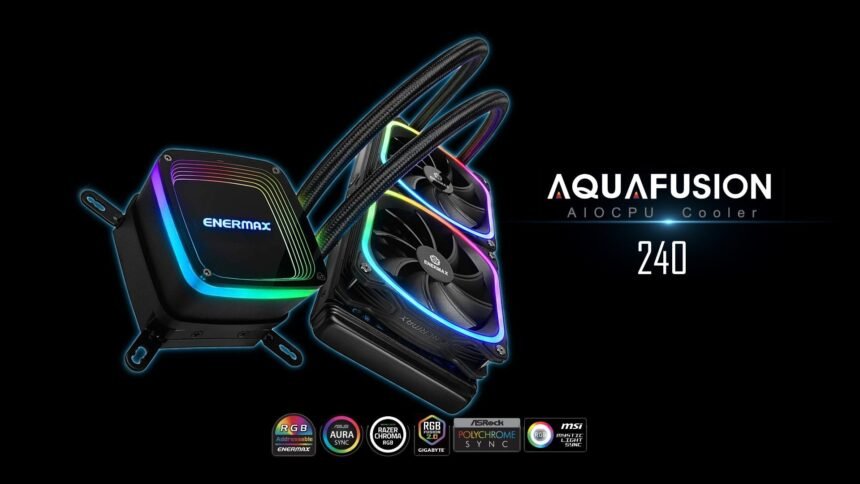
What can you do to improve the cooling situation inside your desktop computer? Switch out the ball bearing CPU air fan for a water cooling solution. Enermax makes a series AIO cooler called the Aquafusion.
I had no issues with my previous cooler, the Coolermaster MasterAir G100M RGB. I did plan on replacing the air cooler with something more powerful. A little over a year later, I’m now the owner of the water cooling solution by Enermax part of the AIO cooler Aquafusion series.
First-time water cooling
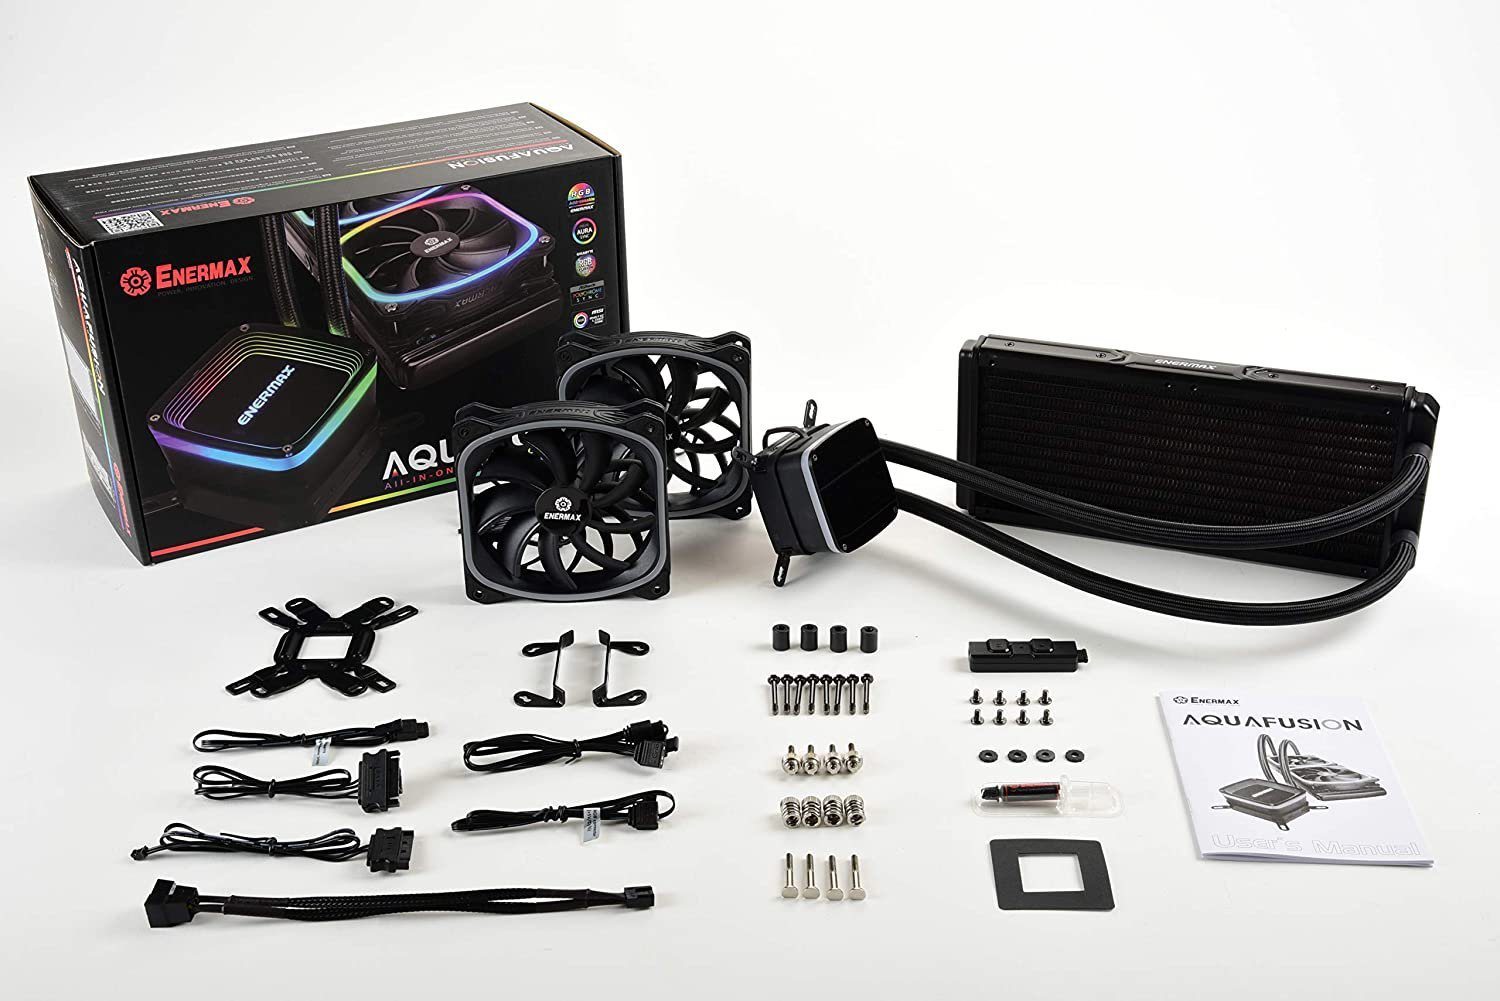
I’ve had zero experience with water cooling before, most of the systems I’ve built, repaired, examined all had CPU air fan coolers on them. Opening the box, pulling the instruction manual, reading what’s needed for AMD systems and scattering all the parts on the floor is how I started my entrance in this world.
Enermax, if you happen to read my review/initiation into your AIO cooler Aquafusion series, please know that your manual is poorly done, and the images are way too small for any human to figure this out. Where you’ve redeemed yourself, was on your YouTube channel, which had a very descriptive video that was quite clear. I’ll leave a link to the YouTube channel for this specific cooler, whether you use Intel or AMD they have you covered.
| [embedyt] https://www.youtube.com/watch?v=wlU_F6HhdS0[/embedyt] |
What you need to know
Now comes the fun part! You have to take your system apart for the unique plate, bracket. I’m wondering, why manufacturers can’t make a single standard, it would make this easier on everyone. Then again, look at Apple and their lightning connector while the rest of the world is on USB-C.
There’s a lot of cables that come with the water cooling AIO cooler Aquafusion 240, and I’m assuming it has to do with the fans, RGB control. Connecting everything together is pretty easy, what wasn’t, is the fact I have no addressable RGB header on the motherboard. Lucky for me, Enermax includes all the adapters needed to connect the majority of this directly to the PSU.
A side note, I don’t have my rig in the bedroom like so many other people. So I’m not concerned with noise.
Installation time
I’m nearly 3-hours in, I’ve got the motherboard backplate installed, I’ve got all the cables plugged in, I’ve cable managed this mess, and now comes the time to mount the rad to the top of the case, put thermal paste on the CPU and fix the cooler in place.
Woohoo me! Now to install everything back into the computer case and make sure I pass POST. Before I do that, let’s ensure I have this bad boy back in one piece, I’d hate to see this being Humpty dumpty.
Testing
Turn the computer on, no errors on POST, open the BIOS menu to check out the temperature reading of the CPU. Everything is looking good, let’s do a reset on the bios setting before getting to windows. Will mess with the overclocking laster, let’s just make sure Windows 10 boots and no crashes are observed.
The system booted into Windows 10, and no errors were observed. The CPU in this machine is the Ryzen 5 2600 with a base clock of 3.4Ghz. Let’s crank this up back to my original profile at 3.7Ghz. Windows 10 booted with no errors. Let’s run some stress tests on the CPU and see if the water cooler is doing its job.
All tests passed fine, with no errors after a couple of hours. It’s officially time to crank this up to 4Ghz.
Final note
The cooler is working as designed. After making all the changes I wanted, the system is stable at 4Ghz with an IDLE temperature of 41c and a heavy workload of 59c. As a comparison, before I made the changes, the CPU idle temperature was 27c, while the heavy workload was at 43c.
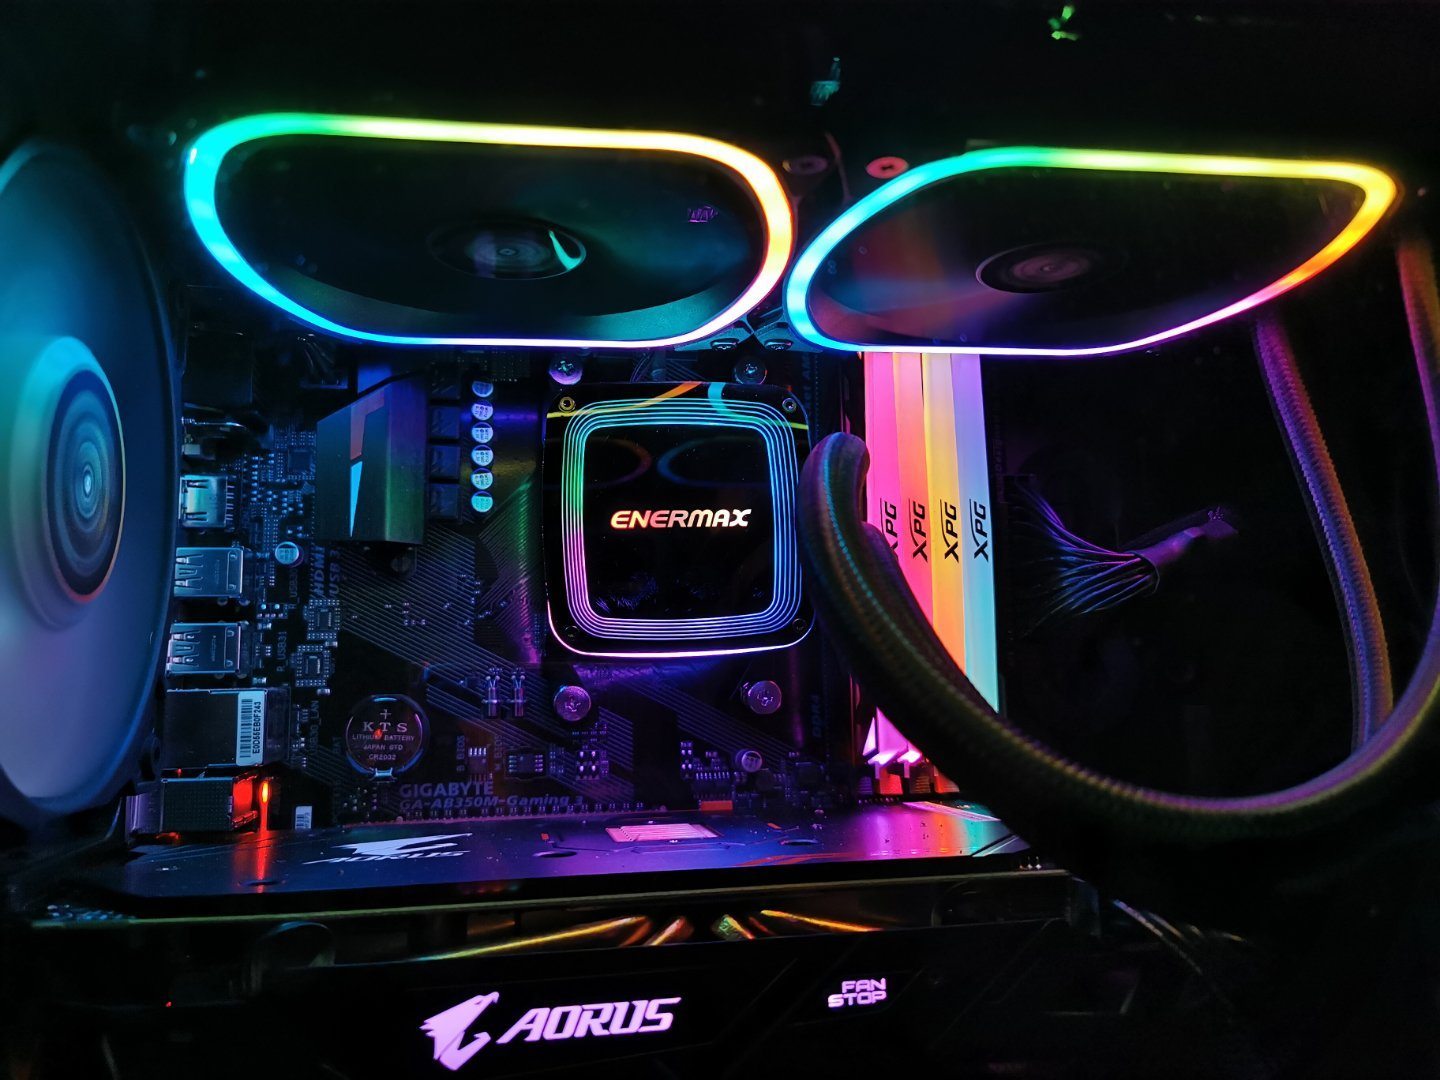
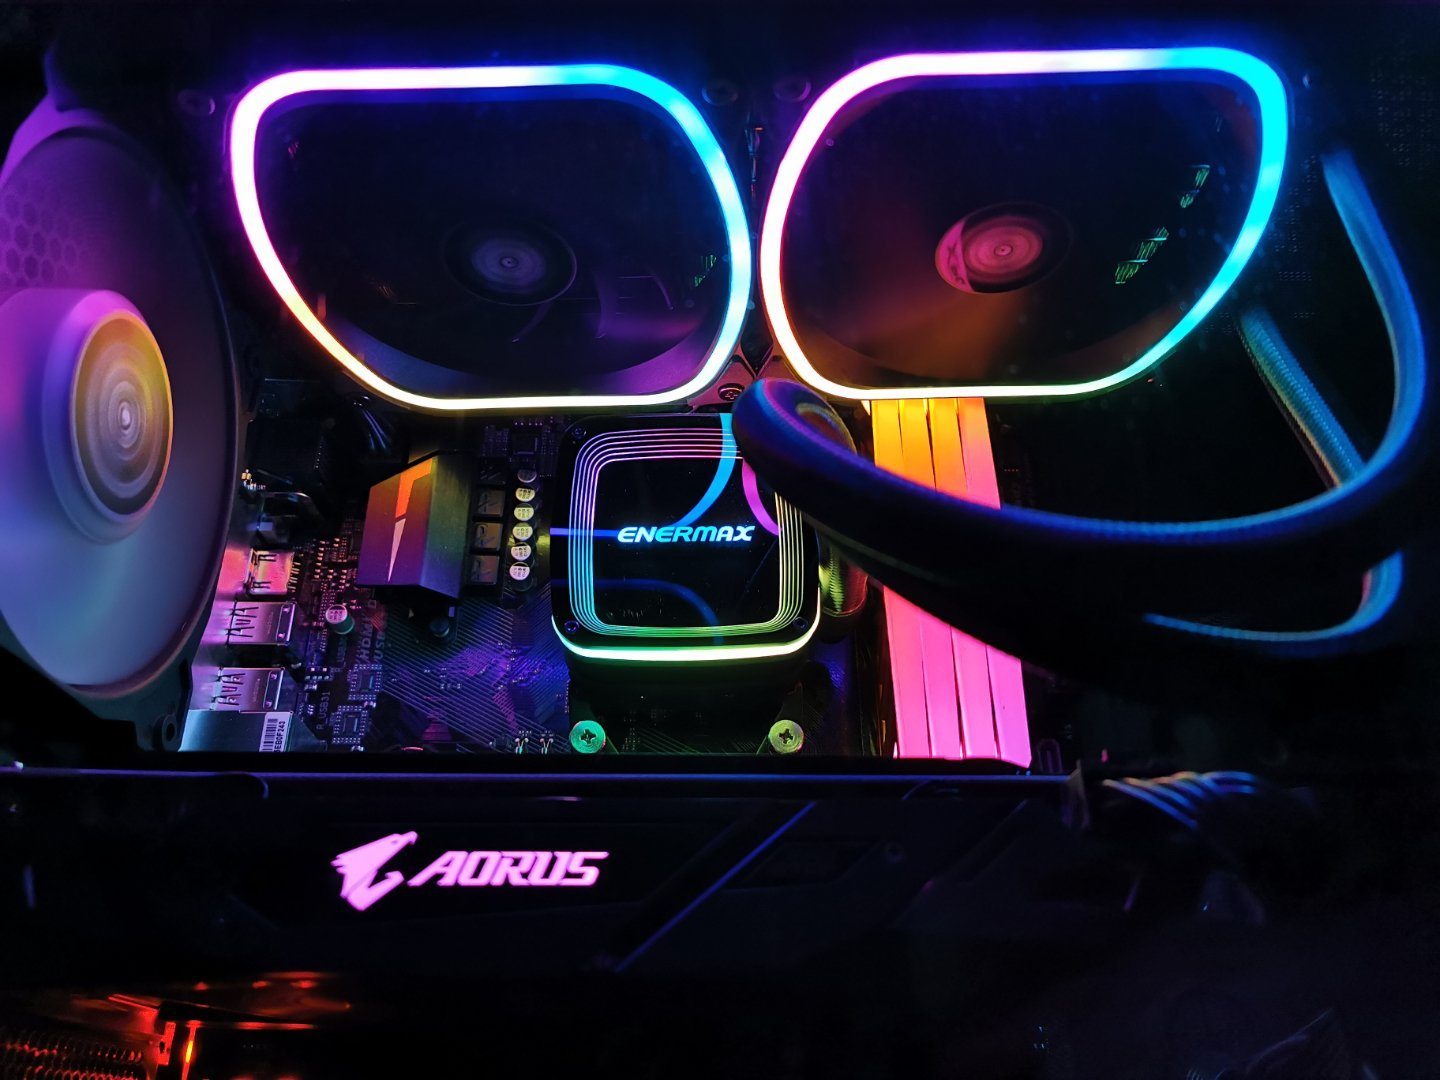
By the way, Enermax, good job on the RGB scheme for the fans and cooler! Not bad for my first time with water cooling and the Enermax AIO cooler Aquafusion 240!


